
Particle Connect for Web
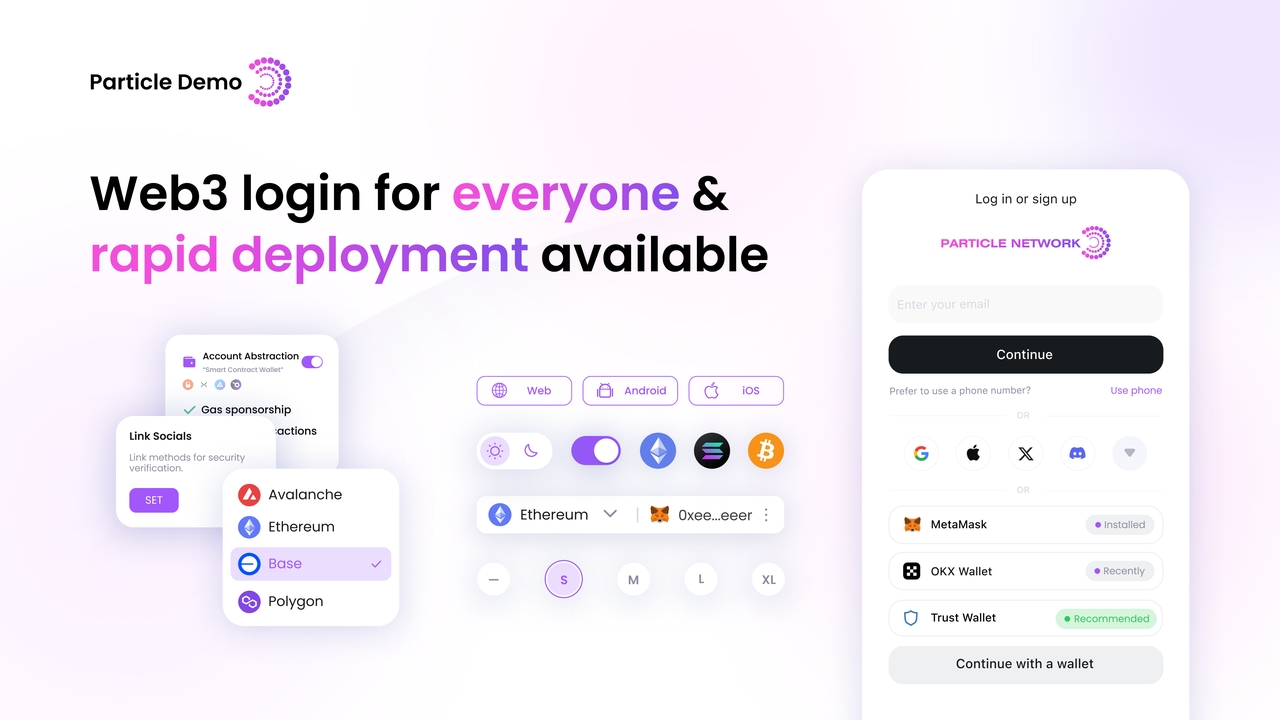
Particle Connect enables a unified modal driving connection with social logins (through Particle Auth) and standard Web3 wallets, creating an equally accessible experience for Web3 natives and traditional consumers. In essence, Particle Connect is an all-in-one SDK capable of handling end-to-end onboarding and wallet connection. Leveraging Particle Connect as the primary connection mechanism (the Connect button within your application) only takes a few steps, as outlined below.Demo
Before you begin, feel free to explore and test the Particle Connect Demo to contextualize the information covered below.Additionally, a boilerplate and associated quickstart is available here.
Getting Started
Installation
To begin, you must install the Particle Connect Web SDK alongside viem. Below is an example of doing so using yarn.Terminal
Setting up the Particle dashboard
Before jumping directly into configuration and implementation, you must ensure you’ve retrieved yourprojectId, clientKey, and appId from the Particle dashboard.
These are required values, and you’ll need in the coming configuration process; they’ll authenticate your instance of Particle Connect.
Configuration
Once Particle Connect is installed and you have your project keys, you can configure the SDK. Simply wrap your application in theConnectKitProvider component to apply customizations and insert the aforementioned keys.
Here, you’ll configure the following core parameters:
projectId,clientKey, andappId— required values from the Particle dashboard.chains— the supported chains for your dApp; these are viem-originating objects imported from@particle-network/connectkit/chains.walletConnectors— an array of connectors representing the wallets you’d like to support within your dApp.- Optionally,
plugins— plugins enabling Particle’s embedded wallet interface or implementing account abstraction. - Optionally,
appearance— deep customization options affecting the login modal.
ConnectKitProvider, using the parameters above.
Create a new component named connectkit.tsx and follow the template to set up your configuration.
connectkit.tsx
ParticleConnectKit component (representing ConnectKitProvider) and wrap your application with it in your index or layout file. Here’s an example of a layout.tsx file:
layout.tsx
Selecting Chains
Particle Connect supports multiple EVM chains alongside Solana. You can easily import predefined chains from@particle-network/connectkit/chains.
You can also integrate additional EVM-compatible chains by defining custom chain objects that extend the Chain type if you are connecting to a standard wallet (without using an embedded wallet or social login features).
Defining custom chains through
defineChain will only work with supported chain IDs (those listed in Network
Coverage), as such, this function is primarily for using custom RPCs, explorers, symbols,
etc.Adding the connection button
Moving out of yourindex file and into your main App component, you’ll need to include the Connect button (ConnectButton from @particle-network/connectkit) to facilitate the utilization of Particle Connect.
You can then use isConnected from useAccount() to handle your frontend post-connection.
Customizing the Connect Button Widget
TheConnectButton component turns into an embedded widget that displays a chain selector on one side and address/account information on the other after the user logs in.
If you want to remove the chain selector portion of the widget, you can do it by adding the following styles to your global.css file:
global.css
Ensure the class names (
.sc-dUMaFF.iLJvQa and .sc-dKGrn.cHiobV) match the generated CSS in your project. These names may vary depending on your library or framework, so inspect your component’s rendered DOM if the provided selectors do not work.Login Modal Appearance
Theappearance property allows you to customize the modal’s style, including changing the accent color, border radius, primary button color, font, and more.
You can try it in the Particle Demo and export the configuration.
Wallet Connectors
Social Logins
Particle Connect relies on Particle Auth for social authentication. With Particle Auth, you can onboard users throughemail, phone, and various social logins (Google, X, and so on).
Authentication via Passkey
Particle Connect supports authentication with Passkey, a solution for secure, device-embedded authentication. To enable Passkeys within your Particle Connect project, importpasskeySmartWallet from "@particle-network/connectkit/evm" and include it in the evmWalletConnectors object.
Passkey authentication is exclusively available with Biconomy V2 or Coinbase smart accounts.
EVM Wallets
In addition to social logins and Passkey, Particle Connect supports all standard EVM wallets, and you can use theinjected method to support additional extension-based wallets that inject a provider.
Particle Connect supports the following EVM wallets by default:
- MetaMask
- WalletConnect
- Phantom
- Coinbase Wallet
- OKX Wallet
- Trust Wallet
- Bitget Wallet
walletConnectors (within your ConnectKitProvider config).
Solana Wallets
Finally, Particle Connect also supports all standard Solana wallets, and, similar to EVM wallets, you can use theinjected method to customize support for specific wallets.
Particle Connect supports the following Solana wallets by default:
- Phantom
- Coinbase Wallet
- OKX Wallet
- Trust Wallet
- Bitget Wallet
walletConnectors (within your ConnectKitProvider config) to enable these options.
Plugins
Embedded Wallet
The Embedded Wallet Plugin relies on Particle Wallet to display a complete wallet interface upon login. This interface displays user balances and NFTs, allows standard P2P transactions, allows swapping, and so on; this is particularly helpful when using social logins or account abstraction.Once a user is connected, you can access the embedded wallet service (through MetaMask, Phantom, socials, etc.).
wallet plugin to plugins (within your ConnectKitProvider config).
Customizing the Embedded Wallet
You can embed the wallet widget anywhere in your application by settingwidgetIntegration: 'embedded'. This allows you to have complete control over the wallet component’s visibility and placement.
Use the provided methods to append the wallet iframe to your desired location and listen for specific events (e.g., closing the wallet) to customize the user experience.
Account Abstraction
Particle Connect comes with built-in Account Abstraction support, which you can enable using theaa plugin.
This plugin leverages Particle’s Account Abstraction SDK to use ERC-4337 features in your application.
Particle Network offers support for several smart account implementations, including:
- Biconomy
- CyberConnect
- Simple
- Light
- Xterio
Refer to the Network Coverage page for a complete list of supported chains across these
smart accounts. All available smart accounts and further details are on the AA
SDK page.
aa plugin to the plugins section of your ConnectKitProvider configuration:
Use Smart Account
When you enable Account Abstraction, you’ll need to handle the resulting account differently than you would typically; specifically, you’ll need to use an instance of theuseSmartAccount hook for constructing and sending UserOperations (transactions); these methods are available directly on the useSmartAccount instance.
Alternatively, this instance can be plugged into AAWrapProvider (generates an 1193-compatible provider) from @particle-network/aa to leverage the smart account through a standard library, such as Ethers.
For more information about working with Particle Network’s account abstraction stack, head to the relevant SDK
reference.
Retrieve the Smart Account Address
After initializing an instance of theuseSmartAccount hook, you can easily obtain the account’s address with the getAddress method.
This is particularly useful for fetching and displaying balances or showing the address within your application’s UI. Importantly, the typical hooks used for retrieving user addresses will not reflect the correct address in this case; they’ll return the EOA; the only way to retrieve the user’s smart account address is through {instance of useSmartAccount}.getAddress.
Below is an example using useEffect to achieve this:
Examples of Utilization
Verify User Connection
After setting up Particle Connect in your application, you can check if a user is connected via Particle Connect usingisConnected from the useAccount hook (isConnected will be truthy automatically upon connection).
TypeScript
Get Wallet Address
After a successful connection, you can useuseAccount to get the address and status, or useAddress to get the address.
Switching Networks
To switch the network of a connected wallet, you can useuseSwitchChain imported from @particle-network/connectkit.
When calling the switch network method, the SDK will request the user to confirm the network switch or add the network if it was not previously set.
TypeScript
Fetch and Use Chain Information
Particle Connect provides native support for handling and displaying information about the currently selected chain. You can access these details using thechain object, which is available through the useAccount() hook.
chain?.name. You can access various other properties of the chain object to retrieve more detailed information about the active chain.
Available Fields in `chain`
Available Fields in `chain`
idnamenativeCurrencyrpcUrlsblockExplorerscontractssourceIdtestnetcustomfeesformattersserializers
Use EIP-1193 Provider (Ethers)
If your dApp already uses a standard library such as Ethers, you can manage accounts by plugging in an EIP-1193 provider attached to the connected EOA. Upon creating an instance of Ethers, you can use the provider to send transactions and sign messages using standard syntax from that library; these requests will be automatically routed to the EOA connected through Particle Connect. An example of this approach with Ethers has been included below.App.tsx
TypeScript
Use Wallet Client (Manage Account)
As an alternative to using an EIP-1193 provider with a standard Web3 library, the Wallet Client interface lets you directly interact with accounts, providing functionality to execute transactions, sign messages, and more.TypeScript
TypeScript
TypeScript
Leverage PublicClient for RPC Calls
Particle Connect integrates Viem, allowing you to make RPC calls directly—such as fetching balances or nonces—via theusePublicClient() hook, eliminating the need for a separate provider.
TypeScript
usePublicClient returns a Connection type (imported from @solana/web3.js).
Solana Example
Fetch User Information with Particle Auth
When a user connects through socials, you can use theuseParticleAuth() hook to retrieve userinfo (which includes details about the method they used to connect, when the account was created, etc.) and other relevant details from Particle Auth.
App.tsx
Key React Hooks for Particle Connect
@particle-network/connectkit provides several React Hooks for interacting with both Particle Connect and Particle Auth. These include:
useWallets- Returns all connected wallets.useAccount- Retrieves the currently active account (address) and its status.useDisconnect- Disconnects a wallet.useModal- Opens the connect modal (setOpen) without usingConnectButton.usePublicClient- A Public Client interface for accessing external JSON-RPC API methods, allowing you to retrieve block numbers, fetch transactions, and read data from smart contracts.useSwitchChain- Switches and retrieves the current primary chain.useSmartAccount- Provides ERC-4337 smart account functionality; requires implementation of theaaplugin.useParticleAuth- Interfaces for Particle Auth.useEmbeddedWallet- Manages the embedded wallet; requires implementation of thewalletplugin.